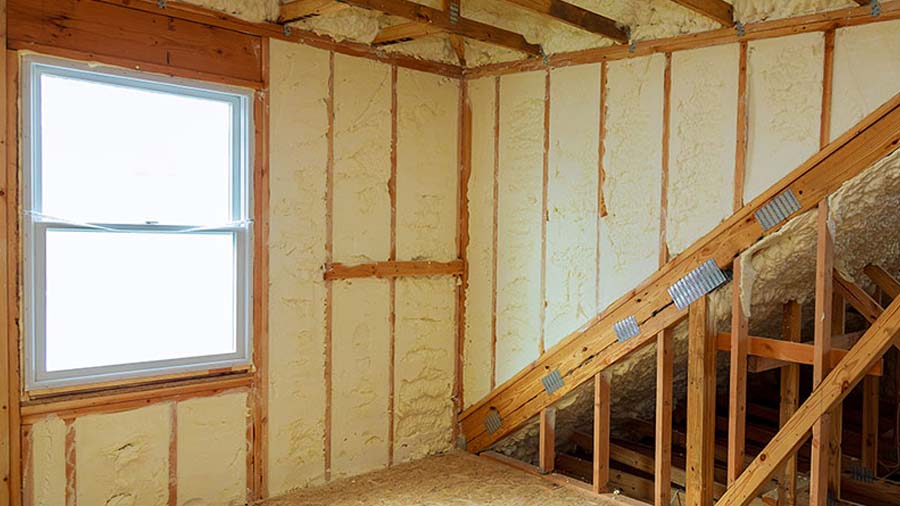
A loft hatch is an opening in the ceiling that provides access to the attic or loft space. It is typically a small square or rectangular opening in a hallway or landing that can be opened and closed with a hatch door. Loft hatches are designed to allow homeowners or maintenance workers to access the loft or attic space for storage, maintenance, or repair purposes. Proper loft hatch insulation is essential to prevent heat loss, increase energy efficiency, and maintain comfortable indoor temperatures. There are several methods of insulating your loft hatch based on the type of insulation material. These include:
- Rigid Foam Insulation
- Mineral Wool Insulation
- Reflective Foil Insulation
- Combined Insulation
Rigid Foam Insulation
Rigid foam insulation boards are a popular choice for insulating loft hatches because:
- They provide effective insulation
- They can be easily installed
- They have low weight
The thickness of Rigid foam insulation varies from 1/2 inch to 2 inches. Select the right thickness for your hatch by checking the R-value. The right thickness also depends on the available space. Cut the insulation boards to the size of the hatch, attach them to the back of the hatch cover with adhesive or tape, and apply weather stripping around the perimeter of the hatch frame.
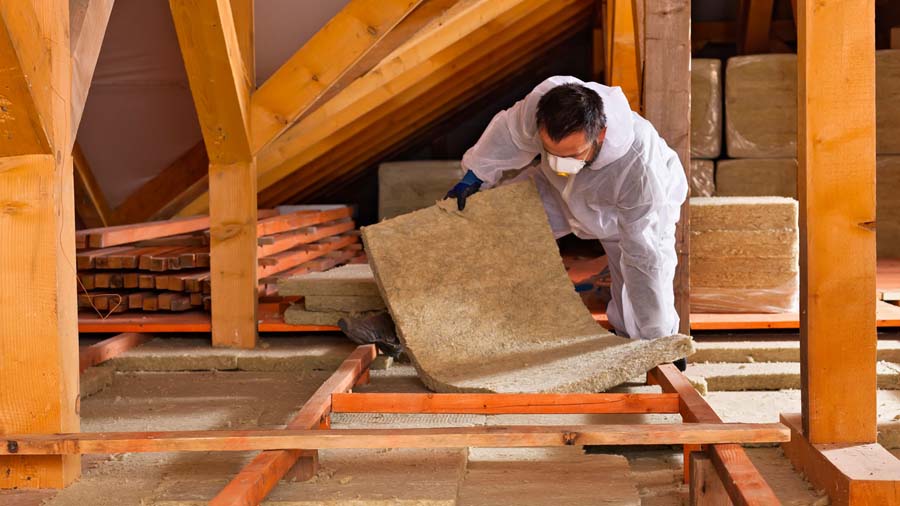
Mineral Wool Insulation
Mineral wool is another effective insulation material for loft hatches. It is made from spun rock or glass fibres and provides good thermal and acoustic insulation. Mineral wool insulation is available in a range of thicknesses, typically between 3 inches and 6 inches. Don’t forget to consider the required R-Value for your loft and the available space around the hatch. Cut the mineral wool to size and attach it to the back of the hatch cover with adhesive or tape. Apply weather stripping or foam sealant around the perimeter of the hatch frame.
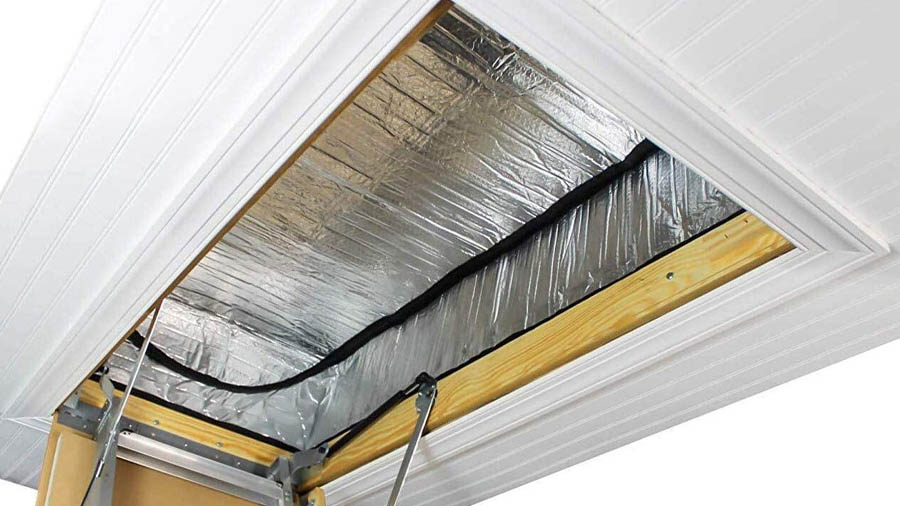
Reflective Foil Insulation
Reflective foil insulation is a thin, lightweight insulation material that reflects heat back into the living space. The installation is easy, and the reflective foil can be cut to size with scissors. Attach the insulation to the back of the hatch cover with adhesive or tape and ensure that the shiny side faces down towards the living space. Apply weather stripping or foam sealant around the perimeter of the hatch frame.
Combination of Insulation Materials
You can also use a combination of insulation materials to insulate your loft hatch, such as a layer of rigid foam insulation board and a layer of reflective foil insulation. This can help improve the hatch’s overall insulation and reduce heat loss. Depending on the specific requirements of your loft hatch, you may need to use a combination of different insulation materials to achieve the desired R-value and thermal performance. For example, you could use rigid foam insulation for its high R-value and reflective foil insulation for its radiant heat barrier properties.
How to Insulate Your Loft Hatch
Loft hatch insulation prevents heat loss and enables you to control your energy bills.
To insulate your hatch, you need the below mentioned tools and supplies:
Tools and supplies you need for DIY insulation of loft hatch
Here are some tools you may need for a DIY insulation project for your loft hatch:
Measuring Tape: You’ll need a measuring tape to measure the dimensions of your loft hatch to ensure that your insulation fits appropriately.
Insulation Material: You can choose from a variety of insulation materials, such as reflective foil, mineral wool, or rigid foam.
Utility Knife/Scissors: A utility knife or scissors will be required for cutting the insulation material to size.
Adhesive or Tape: You’ll need adhesive or tape to attach the insulation material to the back of the loft hatch cover.
Weatherstripping or Foam Sealant: You’ll need weatherstripping or foam sealant to seal gaps and ensure your insulation is airtight.
Safety Goggles and Gloves: Insulation materials can irritate the skin and eyes, so wearing protective gear such as gloves and goggles is essential.
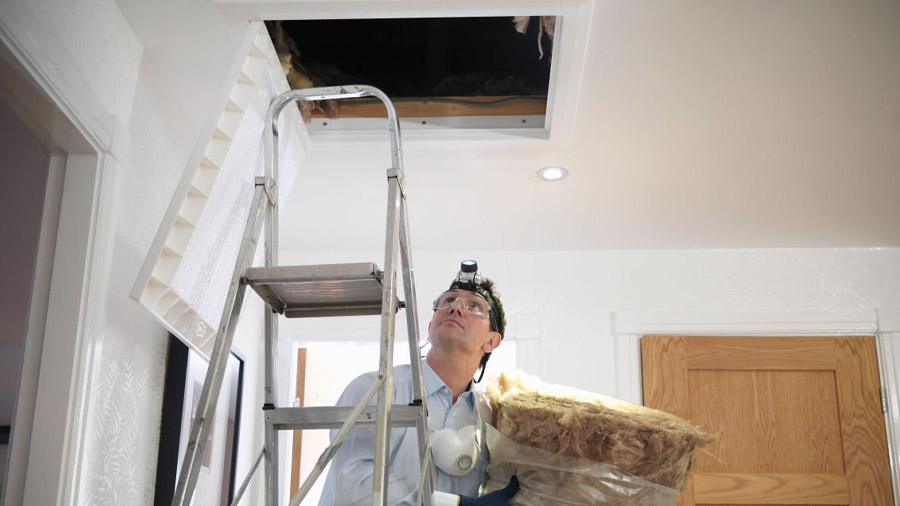
Ladder: You’ll need a ladder to access your loft hatch and install the insulation.
Step One: Measure the Loft Hatch
Find your loft hatch’s location and ensure it is accessible.
Using a measuring tape, measure the length and width of the hatch opening. Be sure to measure from the inside edges of the hatch. Measure the thickness of the hatch using a ruler or measuring tape. To calculate the area of your loft hatch, multiply the length by the width. For example, if your hatch is 1 meter long and 0.5 meters wide, the area of your hatch is 0.5 square meters. Based on the dimensions of your loft hatch, choose the suitable insulation material that fits the size and thickness of your hatch.
Step Two: Choose the Insulation Material
We have already explained different insulation materials which you can use. Cut the insulation using a knife or scissors to your required size. If you are using rigid foam insulation boards, you can cut them with a saw or a utility knife. If you use mineral wool or reflective foil insulation, you can cut them with scissors.
Step Three: Install the Insulation Material
Use adhesive or tape to attach the insulation material to the back of the hatch cover. If you use reflective foil insulation, ensure the shiny side faces down towards the living space. Apply weather stripping or foam sealant around the perimeter of the hatch frame to prevent air leaks and ensure a tight seal. Once the insulation material is attached to the hatch and the frame is insulated, replace the hatch cover and ensure it fits securely.
How Can Insulating Your Loft Hatch Help You?
The right insulation in your loft hatch will enhance your home’s energy efficiency by preventing heat loss. A loft hatch with no insulation or with inadequate insulation will let warm air escape from your home and also allow cold outside air to enter. This will not only make your home uncomfortable but also increase your energy bills. So how can loft hatch insulation help you?
Lower Energy Bills: The first and very evident benefit you will get is a reduction in your energy bills. With proper insulation, you’d be able to control your indoor temperature in all seasons according to your preferences.
Improve Comfort: A well-insulated loft hatch can help improve your home’s comfort by reducing drafts and cold spots. This can make your home more comfortable and enjoyable to live in.
Lower Carbon Footprint: An insulated loft hatch will reduce your reliance on energy, and you’d be able to reduce your carbon footprint.
Prevent Condensation and Protect from Moisture: Insulating the loft hatch protects your loft from moisture and condensation. This helps in preventing damage to your home and also improves indoor air quality.